
안녕하세요 무사도입니다.
지난글에 Flutter 환경 설정에 대한 내용을 정리 해 봤습니다.
2021.11.05 - [개발자로그/Flutter] - Flutter 환경 설정(Preferences)
In the last article, I summarized the contents of setting up Flutter env
이번 글에는 에디터 설정 및 프로젝트 생성을 해 보도록 하겠습니다.
In this article, we will set up the editor and create a project
Flutter 는 일반적으로 VS(Visual Studio) Code 와 Android Studio 를 에디터로 사용 합니다.
저는 Android Studio로 개발을 시작하도록 하겠습니다.
Normally , Flutter using visual studio or Android studio for editing code
I will do selecting the Android Studio
먼저 Android studio 를 설치 하겠습니다.
지난글의 플러터 환경설정에서 Flutter doctor 를 사용하여 안드로이드 SDK를 설정 했기 때문에 이미 설치되셨을 껍니다.
하지만 아직 설치 되지 않으신 분들을 위한 링크는 다음과 같습니다.
First fo all, Install the Android
In last article, we done flutter's setting up environment
but , for the doesn't installed android studio people, download android studio
Download Android Studio and SDK tools | Android Developers
developer.android.com
위 홈페이지를 방문 하시면 다음과 같은 화면이 나타납니다.
If you visiting Android Studio web page show next Image
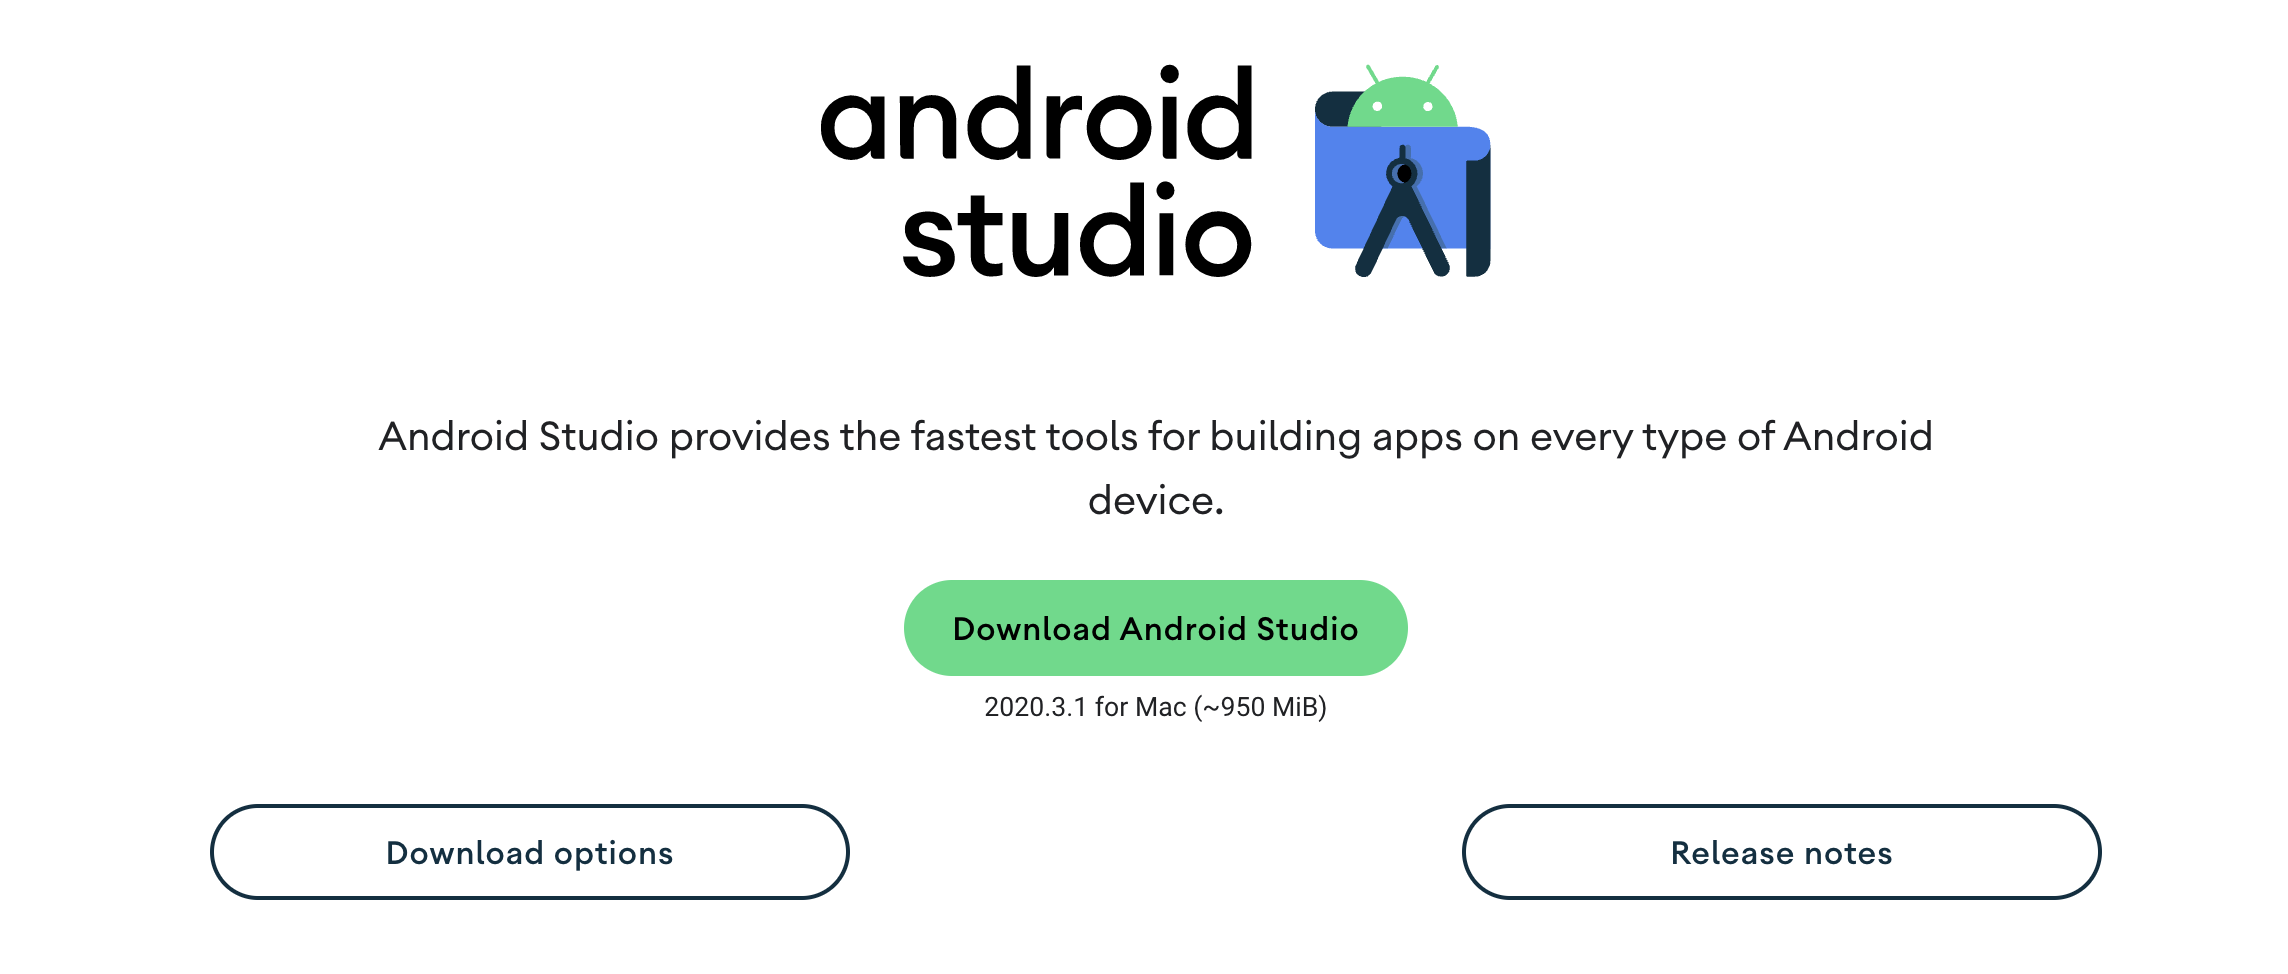
해당페이지 에서 가운데 다운로드 버튼을 누르시면
click the download button
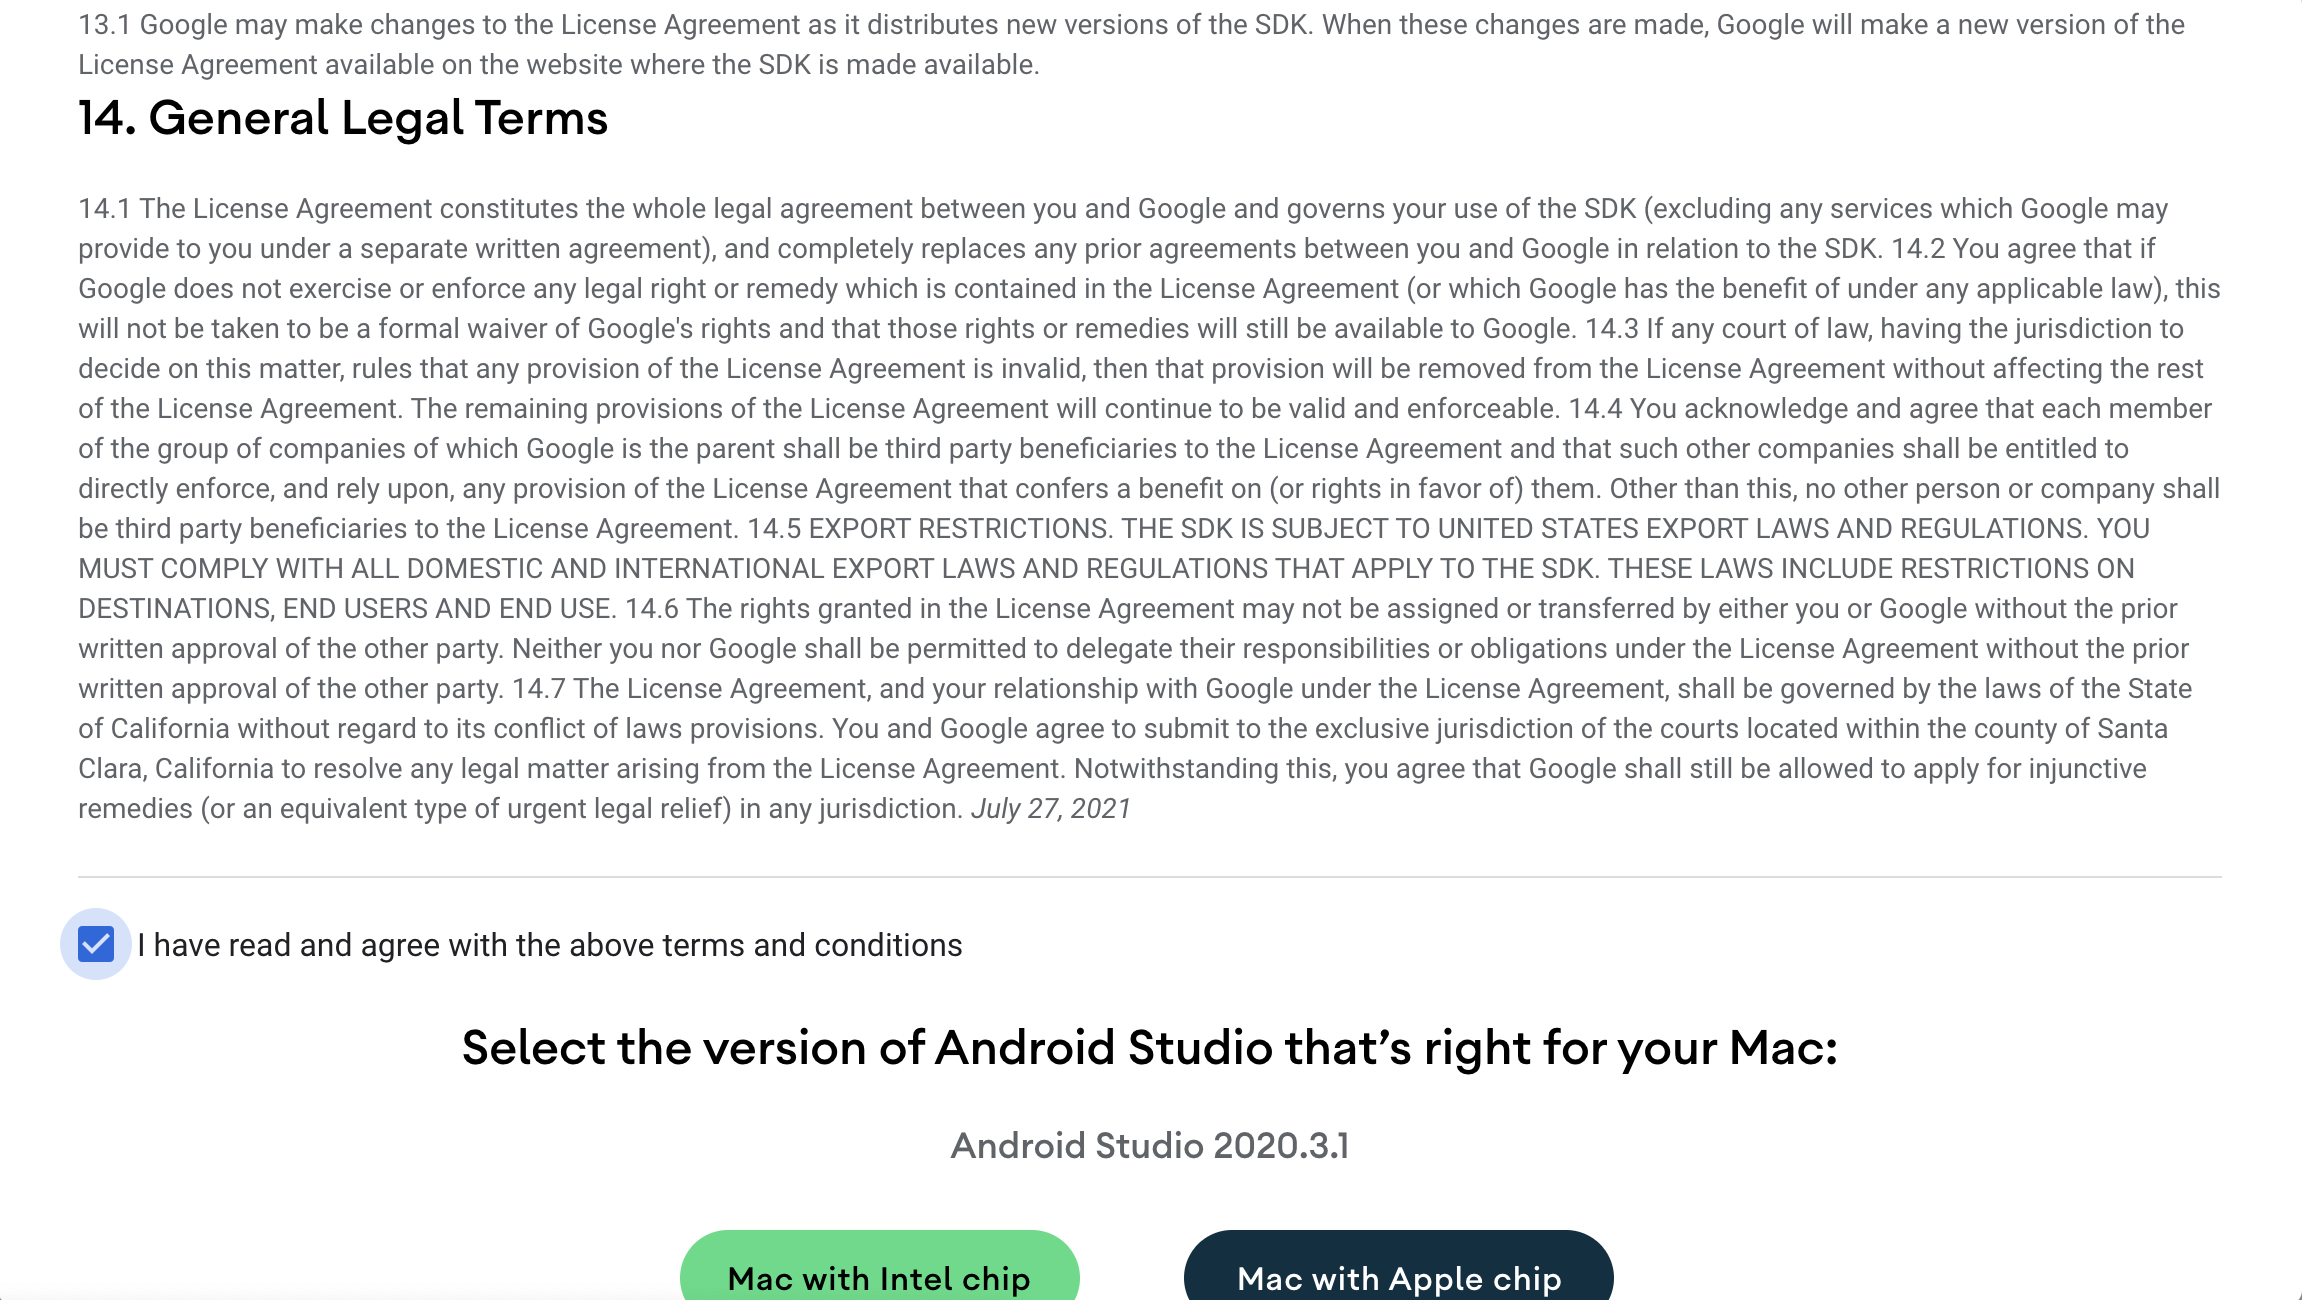
약관의 맨 아래 쪽으로 스크롤을 이동 하신후 체크박스를 선택후 본인 PC 에 맞는 버전으로 다운로드 하시면 됩니다.
현재 저는 다운로드를 시도하는 중이고 (최근 나온 맥북프로의 CPU M1 은 애플에서 개발된 CPU입니다) 오른쪽 MAC With apple chip 을 선택 하시면 됩니다.
다운로드 받은 설치 파일을 실행 하시고 Finish 까지 진행 하시면 됩니다.
You show terms page and do scroll to bottom and select your cpu type or PC type
I Using now M1 Macbook pro so select mac with apple chip and download install file
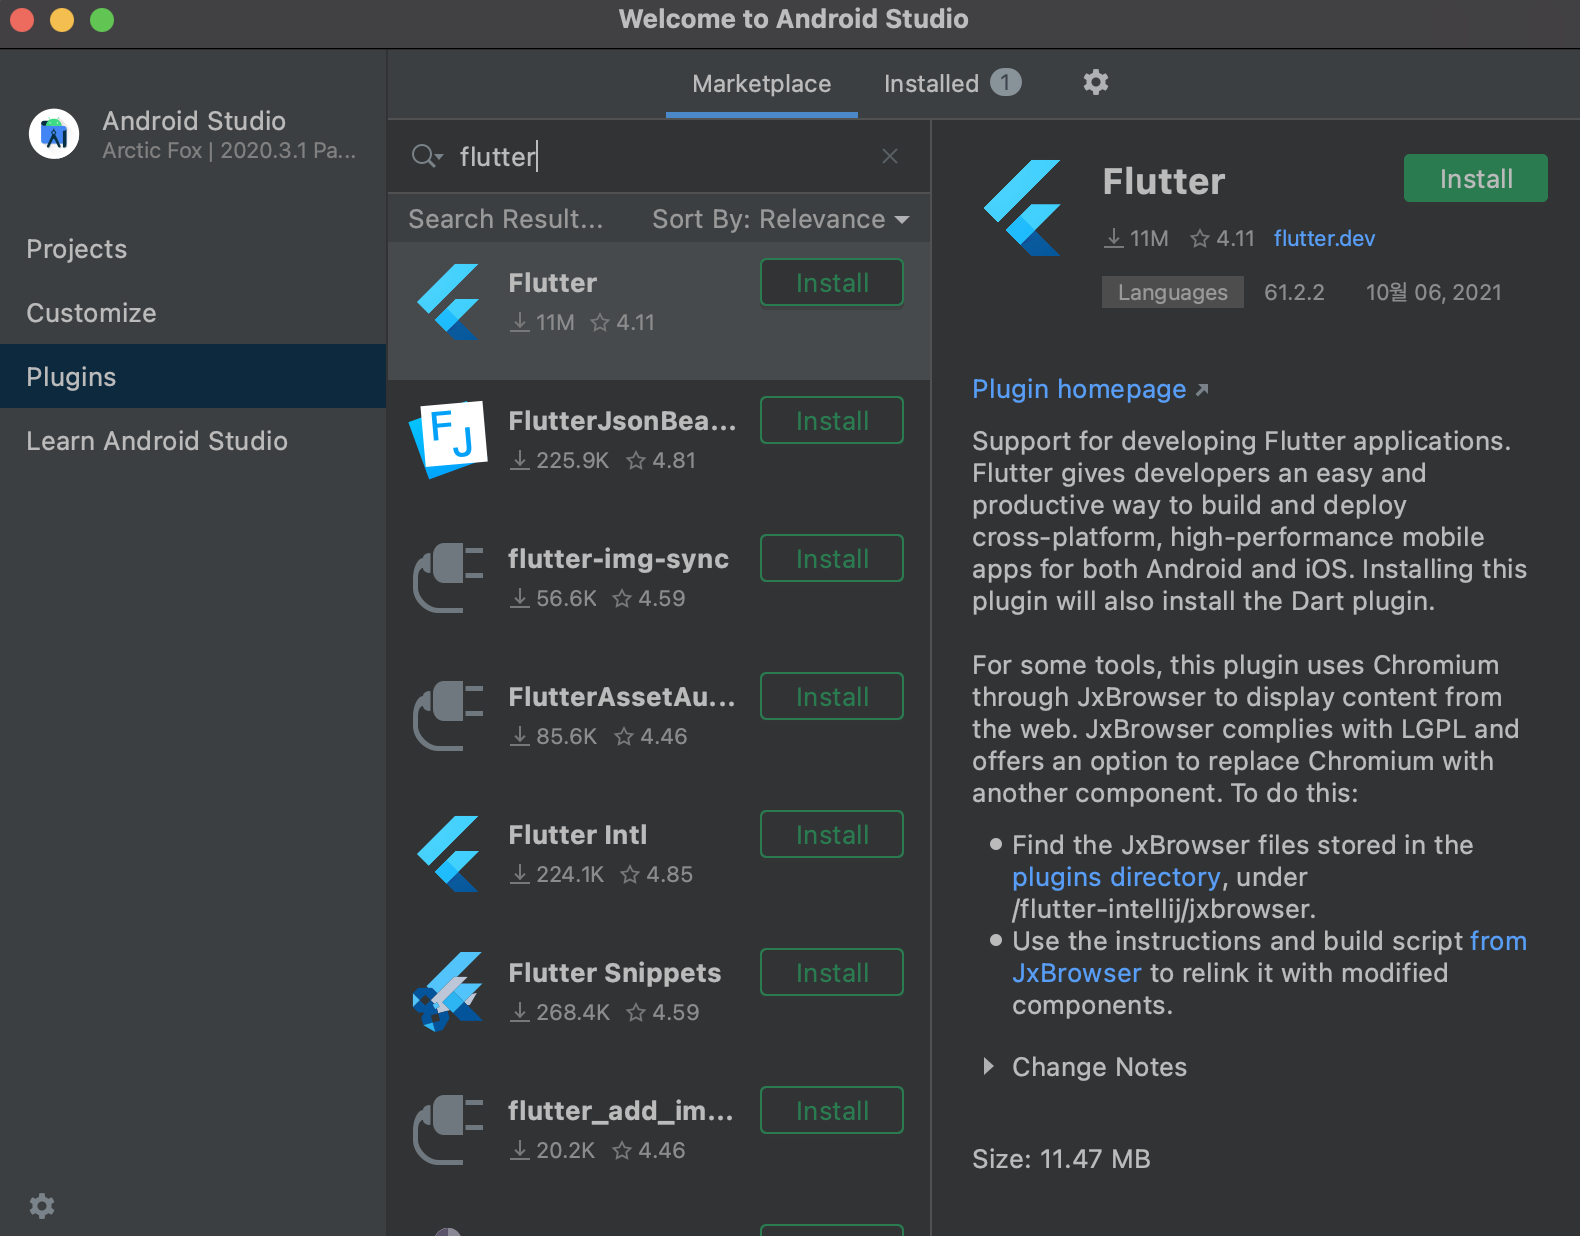
안드로이드 스튜디오를 실행 하시면 Flutter를 개발할수 있는 설정은 현재 되어 있지 않습니다. 플러그인을 선택 해서 설치할 차례 입니다.
스튜디오를 실행 하면 왼쪽 메뉴들이 프로젝트로 설정 되어 있습니다. 이 탭을 Plugins을 선택 하신후에 "Flutter" 선택 하시고 "Install" 을 선택 하시면 됩니다.
After finish install , You run the android studio and install flutter plugin
그 이후에 다시 프로젝트를 눌러 보시면
And, push project button again

프로젝트의 오른쪽 화면에서 "New Flutter Project"가 생긴것을 보실수 있습니다.
You can see "New flutter project" on right side
이 프로젝트를 선택 해 보시면
Select this project button
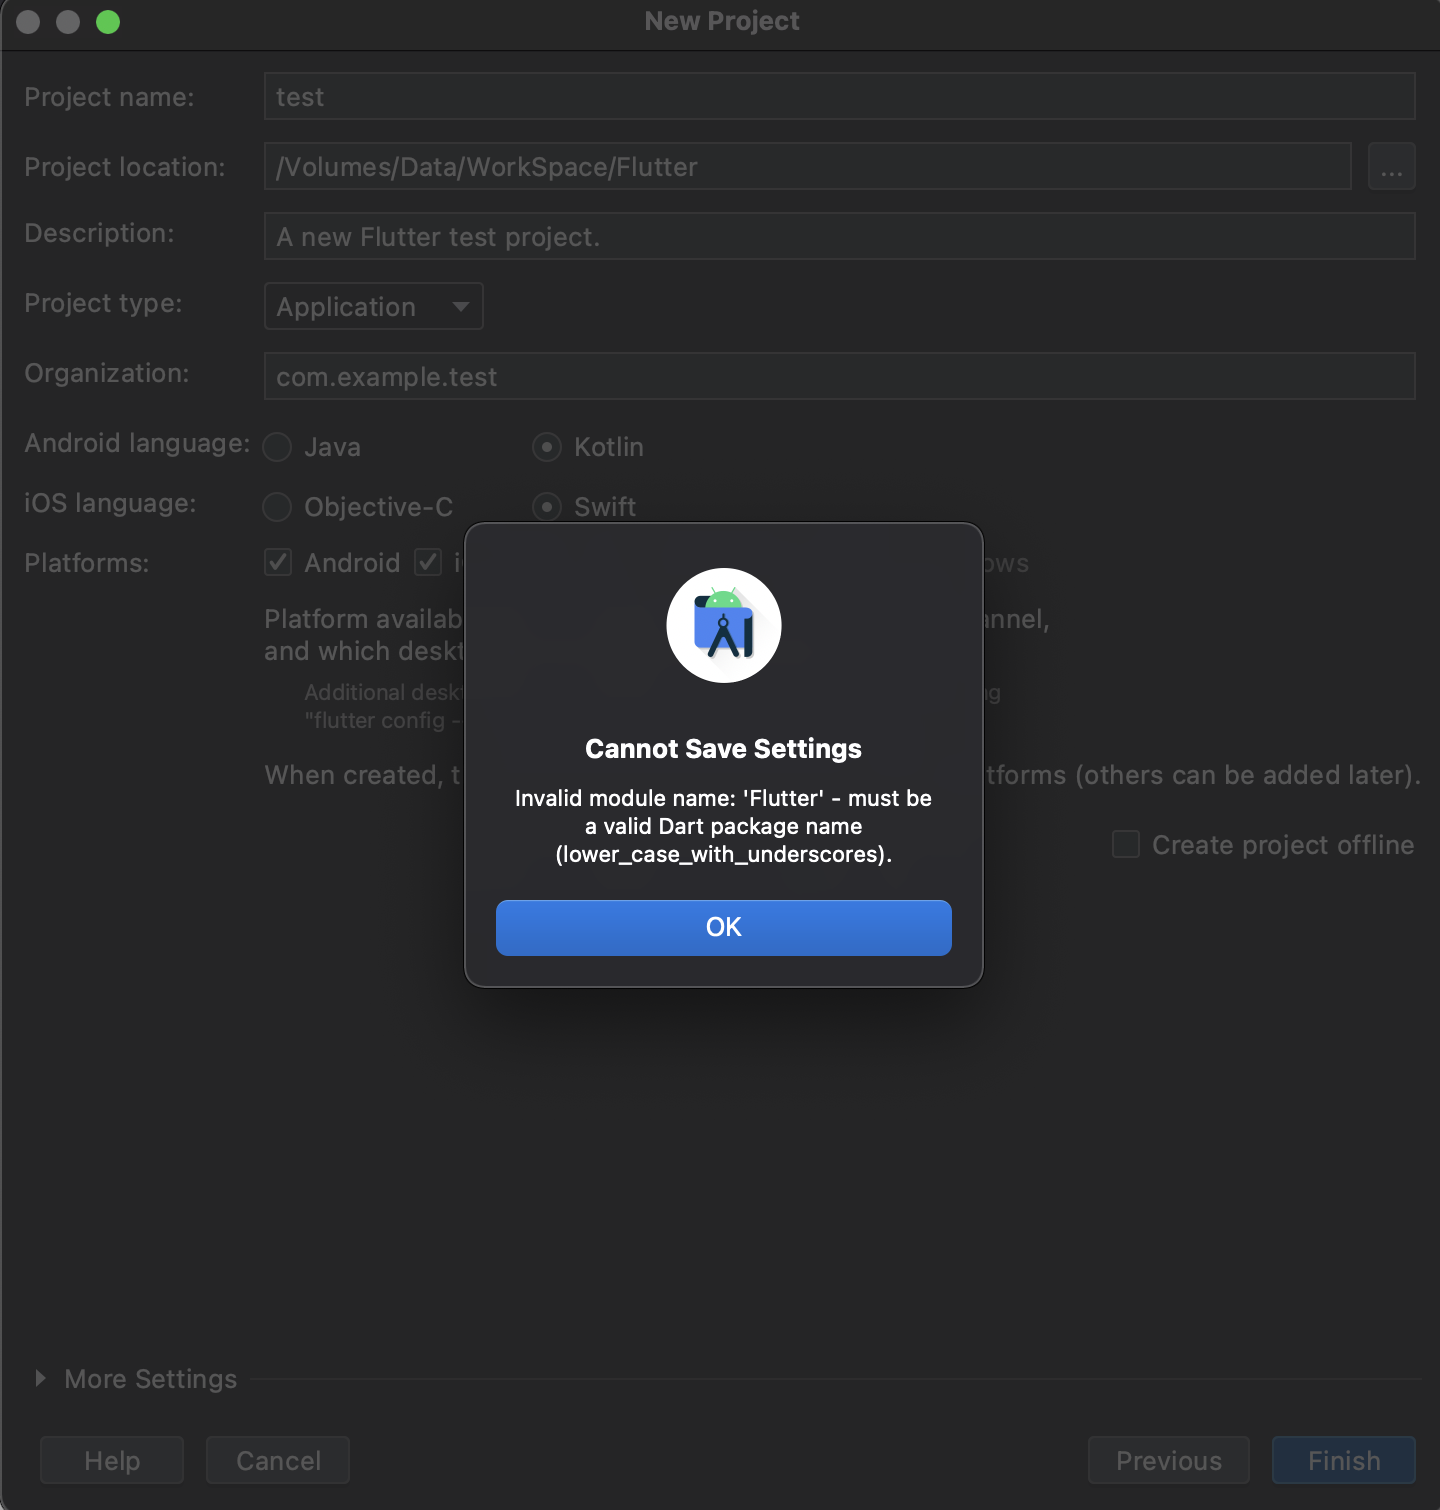
작성된 이름대로 선택하고 Finish를 눌렀을때 위처럼 에러가 발생 합니다.
프로젝트 이름이 두 단어 이상, 대문자 미포함 이어야 하고 연결자가 언더바'_' 가 추가되어야 합니다.
아래처럼 이름을 'test_project' 로 작성하면 다음과 같은 프로젝트가 나타납니다.
화면 왼쪽의 'project' 를 선택하시면 프로젝트 네비게이터가 나타납니다.
보시는 것처럼 iOS 폴더 , android 폴더가 나타나 있고 lib 폴더가 있습니다.
lib 폴더를 열어보시면 main.dart 파일이 있고 우리는 이 파일에 코딩을 할 예정입니다.
main.dart 파일을 열어 보면 기본 코드가 이렇게 나타납니다.
When selecting the name as written and clicking Finish, an error occurs as above.
The project name must be at least two words, no capital letters, and an underscore '_' must be appended to the connector.
If you write the name as 'test_project' as shown below, the following project will appear.
Select 'project' on the left side of the screen to display the project navigator.
As you can see, there is an iOS folder, an android folder, and a lib folder.
If you open the lib folder, there is a main.dart file and we are going to code in this file.
If you open the main.dart file, the main code should look like this:
일단 빌드가 먼저 되는지 실험을 한번 해 보도록 하겠습니다.
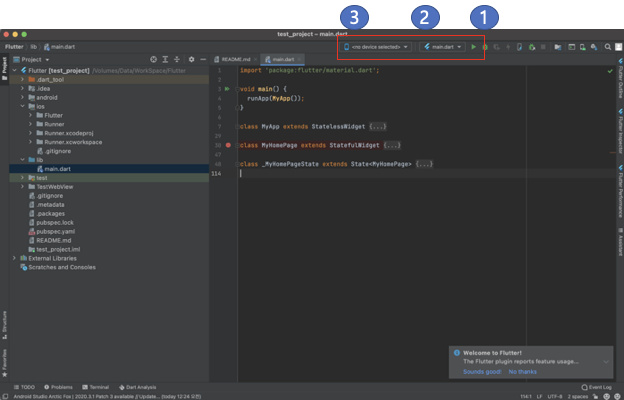
상단 메뉴에서 붉은색 네모의 1번 을 보시면 플레이 버튼이 있습니다.
그 왼쪽에는 3번은 현재 연결된 디바이스의 목록이 2번은 실행 할 파일의 이름입니다. 기본적으로 Entry point 가 main.dart 파일에 있기 때문에 main.dart 를 기본적으로 실행 합니다.
Let's try an experiment to see if the build is done first.
In the top menu, if you look at number 1 in the red square, there is a play button.
On the left, number 3 is the list of currently connected devices, and number 2 is the name of the file to be executed. Execute main.dart by default because the entry point is in the main.dart file.
디바이스 목록에서 안드로이드 픽셀 시뮬레이터를 선택하고 플레이 버튼을 눌러보았습니다.
I selected Android Pixel Simulator from the device list and pressed the play button.
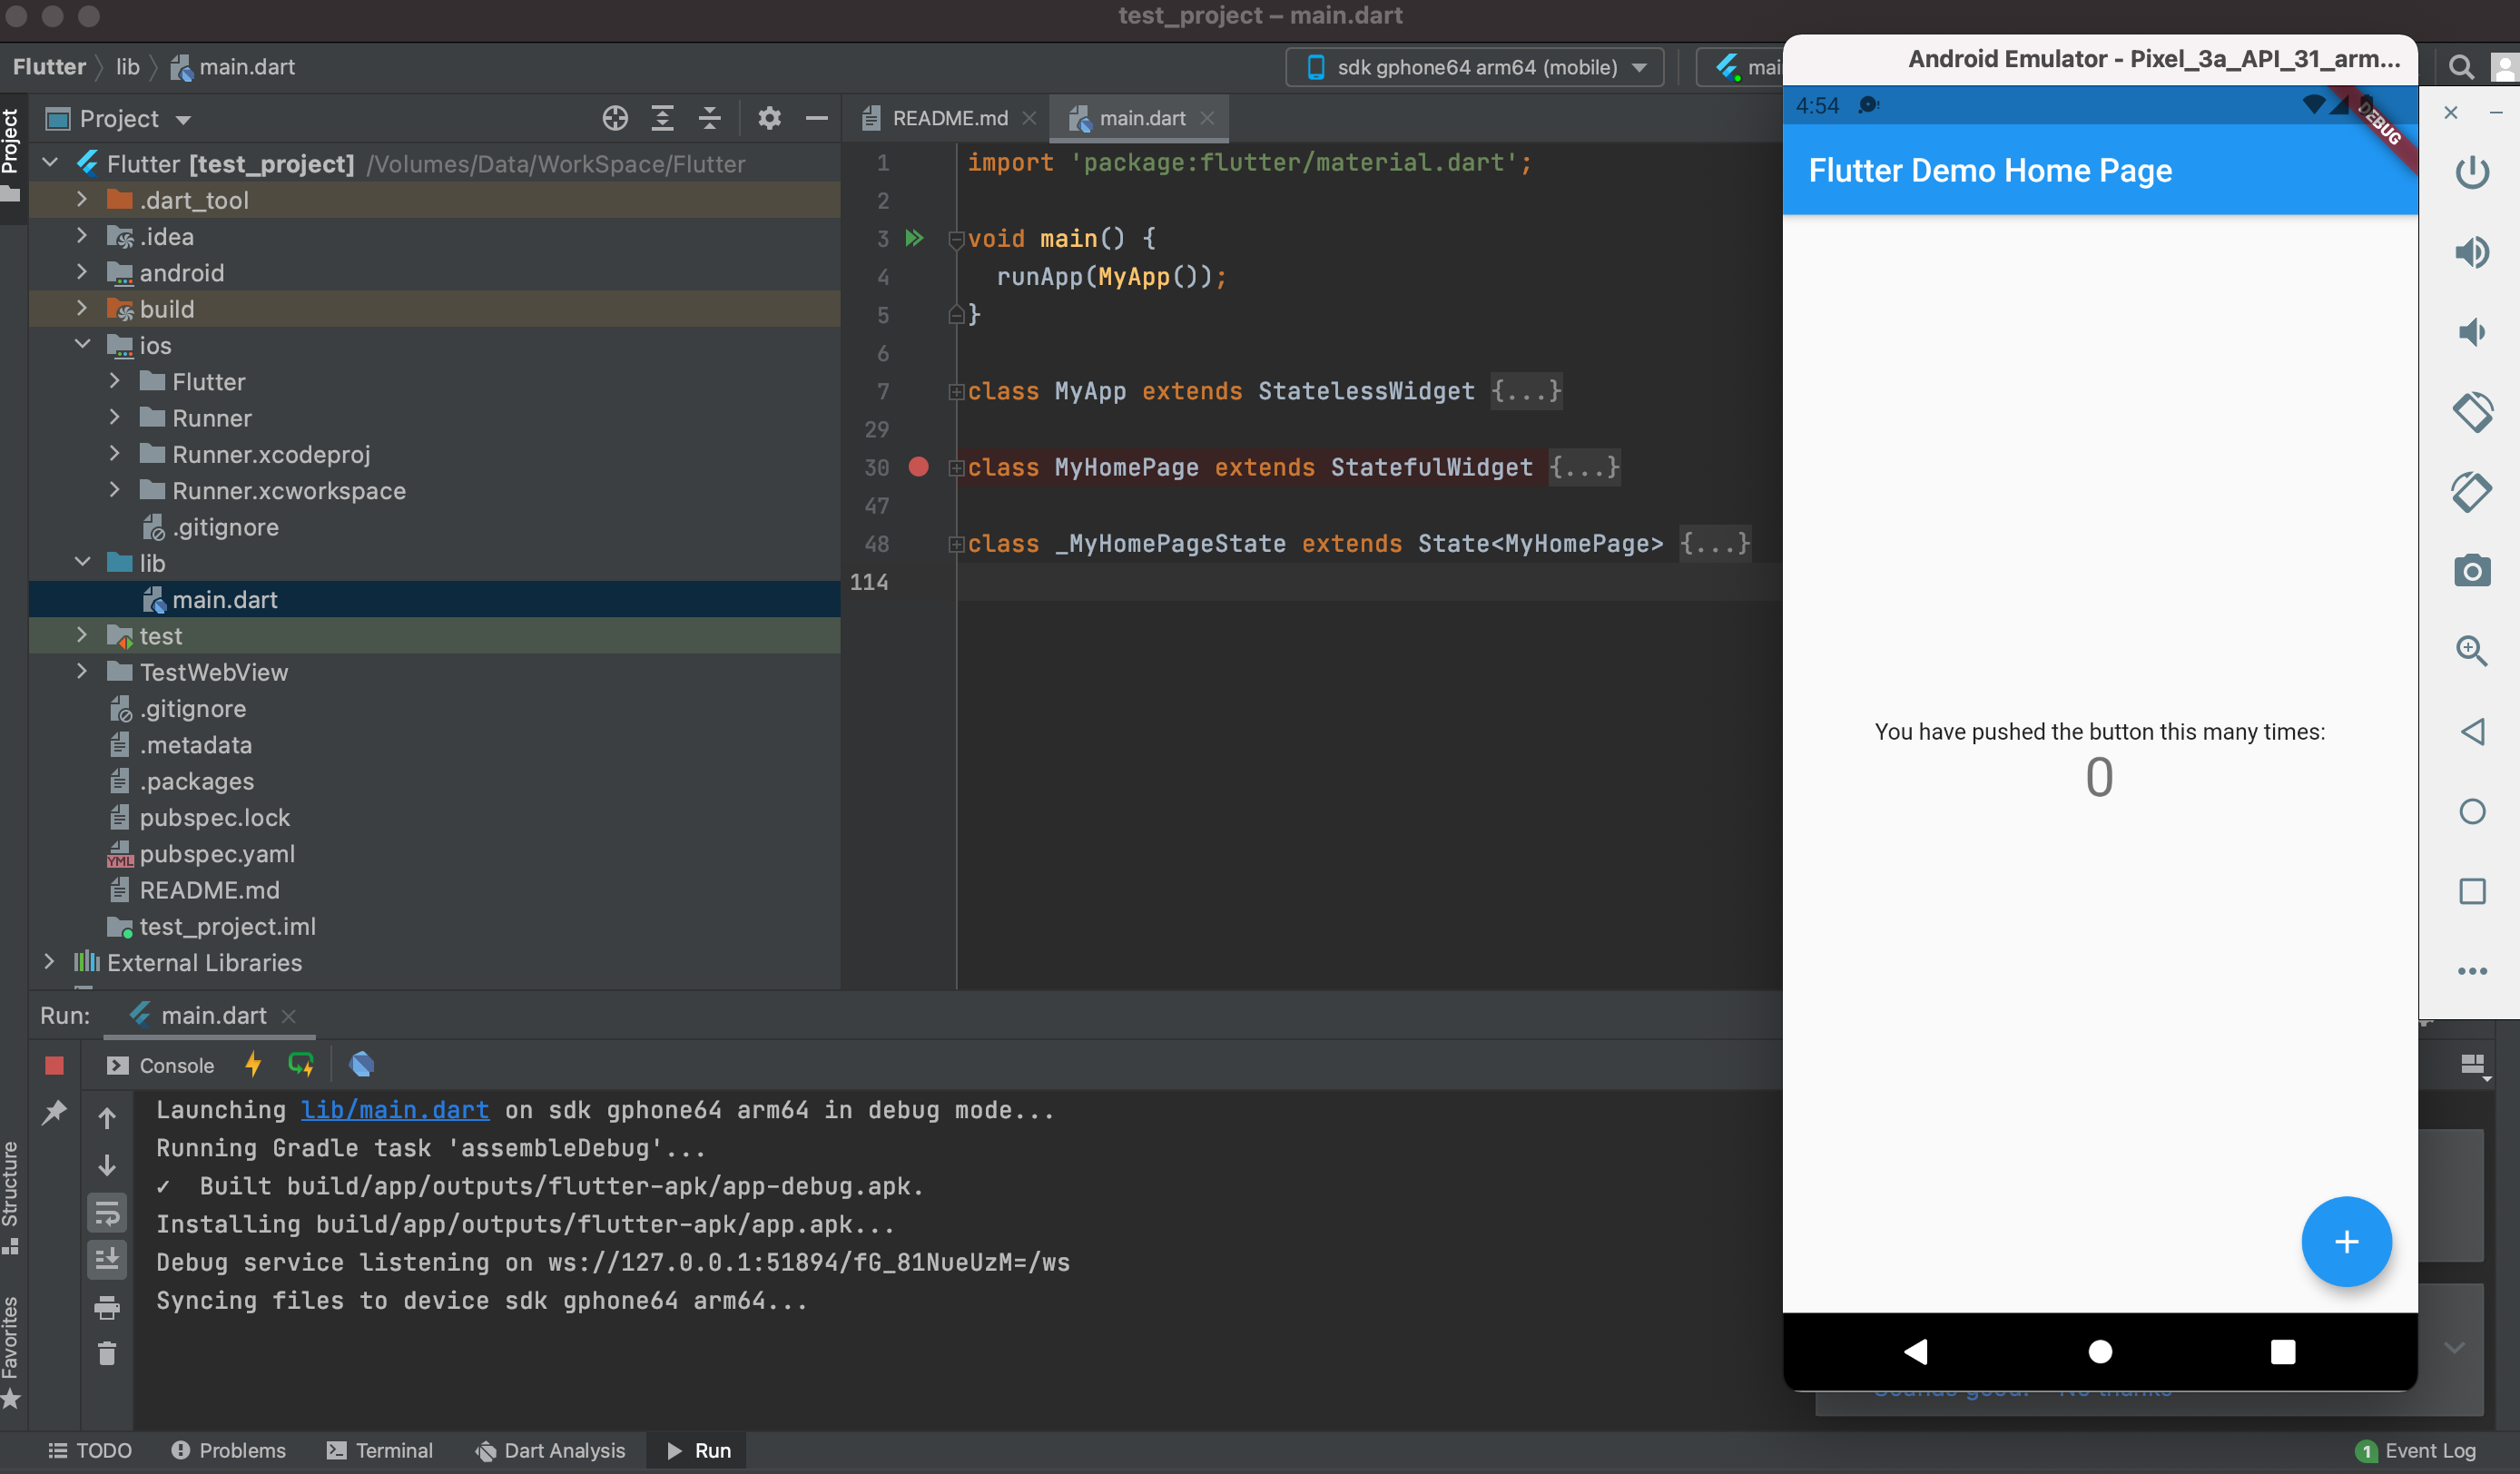
시뮬레이터(에뮬레이터)가 실행 되고 코드된 화면이 나타났습니다.
The simulator (emulator) was launched and the coded screen appeared.
이렇게 해서 시뮬레이터를 이용해서 테스트프로젝트를 실행 해 보았습니다.
다음시간에는 프로젝트 구조 및 코드 설명을 진행 해보겠습니다.
In this way, I tried to run the test project using the simulator.
Next time, we will explain the project structure and code.
'개발자로그 > Flutter' 카테고리의 다른 글
| Flutter Widget 사용법2 (Route) (0) | 2021.11.30 |
|---|---|
| Flutter Widgets 사용법 (Button) 사용법 (0) | 2021.11.23 |
| Flutter 개발 관련 IDE 소개 (0) | 2021.11.22 |
| Stateless Widget VS Stateful Widget (0) | 2021.11.15 |
| Flutter 환경 설정(Preferences) (0) | 2021.11.05 |


댓글